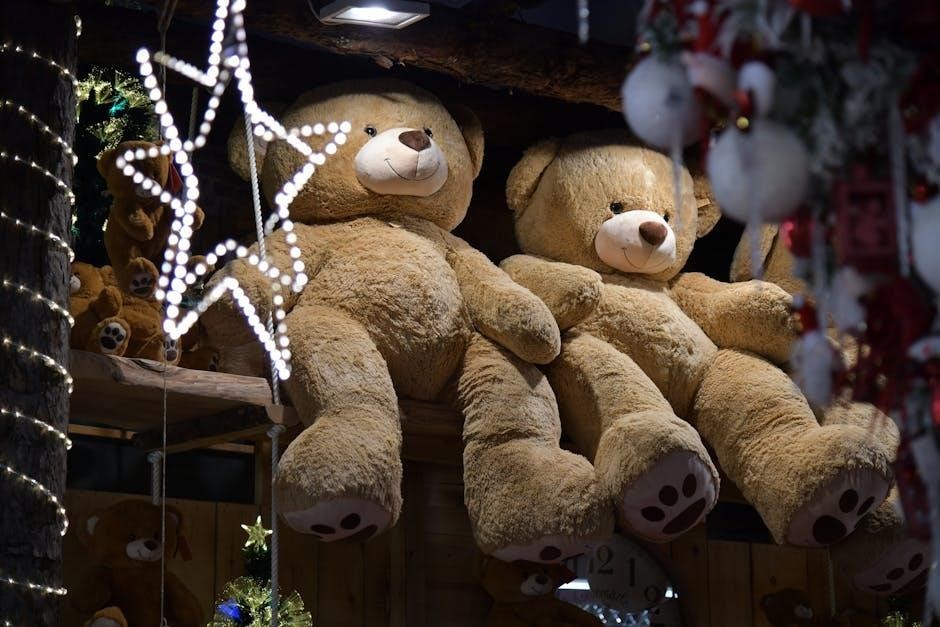
Discover the charming world of crafting cuddly companions! Teddy bear sewing patterns‚ often available as convenient PDF downloads‚ unlock a delightful hobby.
What is a Teddy Bear Sewing Pattern PDF?
A Teddy Bear Sewing Pattern PDF is a digitally downloadable file containing all the pieces and instructions needed to construct a teddy bear. These patterns typically include detailed diagrams illustrating each component – head‚ body‚ arms‚ legs‚ and sometimes clothing.
The PDF format ensures easy access and printing on standard paper sizes. Patterns range in complexity‚ catering to both beginner and experienced sewists. Lucy Ward’s pattern is a popular example‚ offering a printable guide to create a comforting bear. Downloading a PDF eliminates shipping costs and provides instant access to your crafting project‚ making it a convenient choice for immediate creative fulfillment.
Why Sew Your Own Teddy Bear?
Sewing your own teddy bear offers a uniquely rewarding experience‚ far beyond simply acquiring a plush toy. It’s a chance to create a truly personalized keepsake‚ imbued with your own care and creativity. Using a teddy bear sewing pattern PDF allows for customization – choosing fabrics‚ colors‚ and even designing unique outfits.
The process fosters mindfulness and provides a tangible connection to the finished product. Beyond the joy of creation‚ a handmade bear becomes a cherished heirloom‚ offering comfort and joy for years to come. It’s a delightful project for all skill levels‚ promoting relaxation and a sense of accomplishment.
Finding Free Teddy Bear Sewing Patterns
Numerous online resources offer free teddy bear sewing patterns in PDF format‚ making it easy to start your crafting journey without initial costs!
Lucy Ward’s Free Teddy Bear Pattern
Lucy Ward provides a fantastic‚ freely accessible teddy bear sewing pattern‚ readily available for download. This pattern is perfect for those eager to embark on their first bear-making adventure. Gathered.com highlights this pattern as a wonderful starting point‚ offering a printable PDF format for easy use.
The pattern allows you to create a comforting and adorable teddy bear‚ bringing joy through handmade creations. It’s a great way to discover the pleasure of sewing and personalize a cherished keepsake. With clear instructions‚ even beginners can successfully craft a delightful companion. Find comfort and joy in this accessible pattern!
Arthur Bear Free Pattern (PDF)
Arthur Bear is another excellent option for a free teddy bear sewing pattern‚ distributed as a PDF file. Several sources offer this pattern for download‚ providing a convenient way to begin your bear-making project. The file size is approximately 1.7 MB‚ ensuring a quick and easy download process.
This pattern is ideal for crafters seeking a classic teddy bear design. Instructions are included to guide you through each step‚ from cutting the fabric to the final stitching. It’s a rewarding experience to create a unique‚ handmade toy with this readily available pattern.
Other Online Resources for Free Patterns
Beyond Lucy Ward and Arthur Bear‚ numerous online platforms host free teddy bear sewing patterns in PDF format. Websites dedicated to sewing and crafting frequently offer downloadable patterns for various skill levels. A quick internet search reveals a wealth of options‚ catering to both beginner and experienced sewists.
These resources often include patterns for different bear styles‚ sizes‚ and designs. Explore online sewing communities and forums‚ where members often share their own creations and free patterns. Remember to always check the licensing terms before using any downloaded pattern.

Understanding Teddy Bear Pattern Components
Teddy bear sewing patterns‚ typically PDF documents‚ comprise individual pieces for the body‚ head‚ limbs‚ and features – essential for construction.
Pattern Pieces Explained
Teddy bear sewing patterns‚ delivered as PDF files‚ contain several crucial components. You’ll find pieces for the head (often in multiple sections for shaping)‚ the body (typically front and back)‚ arms‚ legs‚ and sometimes separate pieces for paws or ears. Each piece is clearly labeled‚ indicating its name and the quantity needed – usually two for symmetrical parts.
PDF patterns often include markings for seam allowances‚ darts for shaping‚ and placement guides for facial features. Understanding these markings is vital for accurate cutting and assembly. Some patterns may also have grainline arrows‚ indicating how to position the pattern piece on your fabric for optimal stretch and drape. Carefully review the pattern key before cutting any fabric!
Seam Allowances and Marking
Teddy bear sewing patterns‚ especially those in PDF format‚ rely on precise cutting and sewing. Seam allowances – the space between the cutting line and the stitching line – are typically ¼ inch or ⅜ inch‚ but always confirm this on the pattern instructions. Accurate seam allowances ensure your bear maintains its intended size and shape.
Marking the pattern pieces is equally important. Transfer notches (small V-shaped cuts) and dots onto your fabric; these align pieces during sewing. Use tailor’s chalk‚ a fabric marker‚ or snip within the seam allowance. Carefully follow the PDF pattern’s guidance for marking‚ as it impacts the final result.
Fabric Recommendations
Selecting the right fabric is crucial when using a teddy bear sewing pattern PDF; For a classic look‚ consider mohair – it’s luxurious but can be tricky to sew; Plush fabrics‚ like velour or fleece‚ are softer and easier for beginners. Durable cotton is a budget-friendly option‚ ideal for practice or children’s toys.
The pattern may specify a fabric weight; lighter fabrics create softer bears‚ while heavier ones offer more structure. Remember to pre-wash your fabric to prevent shrinkage after assembly. Your PDF pattern might also suggest specific fabric types for optimal results.
Essential Sewing Supplies
Bring your teddy bear sewing pattern PDF to life! You’ll need fabric‚ stuffing‚ scissors‚ pins‚ a sewing machine‚ and a hand sewing needle for details.
Fabric Choices (Mohair‚ Plush‚ Cotton)
Selecting the right fabric is crucial when using a teddy bear sewing pattern PDF. Mohair offers a classic‚ luxurious texture‚ ideal for traditional bears‚ though it can be pricier and trickier to sew. Plush fabrics‚ like fleece or minky‚ are incredibly soft and beginner-friendly‚ creating wonderfully huggable teddies.
Cotton provides a more affordable and readily available option‚ suitable for charming‚ rustic-style bears. Consider the fabric’s weight and pile length; heavier fabrics hold their shape better‚ while longer piles create a fluffier appearance. Remember to pre-wash your fabric to prevent shrinkage after your adorable creation is complete!
Stuffing Materials (Polyester Fiberfill‚ Cotton)
Choosing the stuffing significantly impacts the feel and shape of your teddy bear crafted from a teddy bear sewing pattern PDF. Polyester fiberfill is the most popular choice – it’s hypoallergenic‚ washable‚ and readily available‚ offering a soft‚ bouncy texture. It’s also relatively inexpensive‚ making it ideal for larger projects.
Cotton stuffing‚ while natural‚ can clump and lose its loft over time. It’s best suited for smaller bears or those intended as heirloom pieces. Ensure stuffing is evenly distributed to avoid lumps and create a well-defined bear shape. Don’t overstuff‚ as this can distort the seams!
Tools: Scissors‚ Pins‚ Sewing Machine‚ Hand Sewing Needle
Successfully utilizing a teddy bear sewing pattern PDF requires specific tools. Sharp fabric scissors are crucial for precise cutting of pattern pieces. Pins securely hold fabric layers together during sewing. A sewing machine speeds up construction‚ though hand-sewing is viable for smaller details or repairs.
A hand sewing needle is essential for closing openings after stuffing and attaching features like eyes and noses. Consider rotary cutters and mats for efficiency. Quality tools enhance accuracy and enjoyment throughout the bear-making process‚ resulting in a professionally finished teddy bear!

Step-by-Step Sewing Guide ― Head
Begin by carefully sewing the head pieces together‚ following your teddy bear sewing pattern PDF. Turn‚ stuff firmly‚ and prepare for attachment!
Sewing the Head Pieces Together
Carefully pin the head pattern pieces together‚ ensuring right sides are facing inward. Utilize a consistent seam allowance‚ typically ¼ inch‚ as indicated on your teddy bear sewing pattern PDF. Begin sewing along the curved edges‚ leaving a small opening for turning and stuffing – this is crucial!
Backstitch securely at the beginning and end of your stitching to prevent unraveling. Gently clip the curves after sewing to reduce bulk and allow for smoother turning. Remember to reference your pattern’s specific instructions for any unique shaping or darting details. Precision here establishes the bear’s charming form.
Turning and Stuffing the Head
Gently turn the sewn head pieces right side out through the opening left during sewing. Use a point turner or blunt tool to carefully push out the seams‚ ensuring a well-defined shape. Now‚ begin stuffing the head firmly with polyester fiberfill or cotton‚ working in small amounts to avoid lumps.
Pay close attention to filling the snout and cheeks adequately for a pleasing form‚ referencing your teddy bear sewing pattern PDF for guidance. Once firmly stuffed‚ hand-stitch the opening closed using a ladder stitch for an invisible finish.
Attaching the Head to the Body
Position the stuffed head onto the body‚ ensuring it’s centered and aligned according to your teddy bear sewing pattern PDF. Use pins to securely hold the head in place. Now‚ carefully hand-stitch the head to the body using a strong thread and a secure stitch‚ like a ladder stitch or a whip stitch.
Reinforce the attachment by going around multiple times‚ especially if you plan to add joints later. Ensure the stitching is hidden within the seam allowance for a neat appearance. A firmly attached head is crucial for the longevity of your handmade bear!
Step-by-Step Sewing Guide ー Body
Follow your teddy bear sewing pattern PDF to stitch the body pieces together‚ right sides facing. Leave an opening for turning and stuffing‚ ensuring neat seams.
Sewing the Body Pieces Together
Begin by carefully pinning the body pieces of your teddy bear‚ as indicated in your sewing pattern PDF. Ensure right sides of the fabric are facing each other for a clean finish. Utilize a consistent seam allowance – typically ¼ inch – throughout the entire body construction.
Start sewing along the designated seam lines‚ backstitching at the beginning and end to secure the stitches. Pay close attention to curves‚ easing the fabric as needed to avoid puckering. Remember to leave an opening‚ usually along the lower back or side‚ for turning and subsequent stuffing. This opening should be large enough to comfortably accommodate the stuffing material.
Turning and Stuffing the Body
Carefully turn the sewn body right side out through the opening left during construction‚ using a point turner or blunt tool to gently push out corners and curves. Avoid pulling harshly on the seams. Now‚ begin the stuffing process‚ utilizing polyester fiberfill or cotton – ensuring even distribution to avoid lumps.
Gradually add stuffing‚ working it into all areas of the body‚ particularly limbs and contours. Use small amounts at a time to maintain shape and firmness. Once adequately stuffed‚ hand-stitch the opening closed using a ladder stitch for an invisible finish‚ referencing your teddy bear sewing pattern PDF.
Attaching Limbs and Features
Securely attach arms and legs using jointing or sewing‚ then bring your bear to life with embroidered eyes‚ a nose‚ and a sweet‚ smiling mouth!
Sewing on Arms and Legs
Attaching the limbs is a crucial step in bringing your teddy bear to life. Depending on your chosen pattern and desired articulation‚ you have several options. For a simple‚ non-jointed bear‚ carefully position the arms and legs onto the body‚ ensuring they are evenly spaced and aligned.
Secure them firmly with a strong stitch‚ backstitching for durability. Consider using a ladder stitch for an invisible finish. If you’re opting for jointed limbs‚ follow the pattern’s instructions for inserting the joints before attaching the limbs‚ allowing for poseability.
Take your time and ensure a secure attachment‚ as these limbs will endure plenty of cuddles!
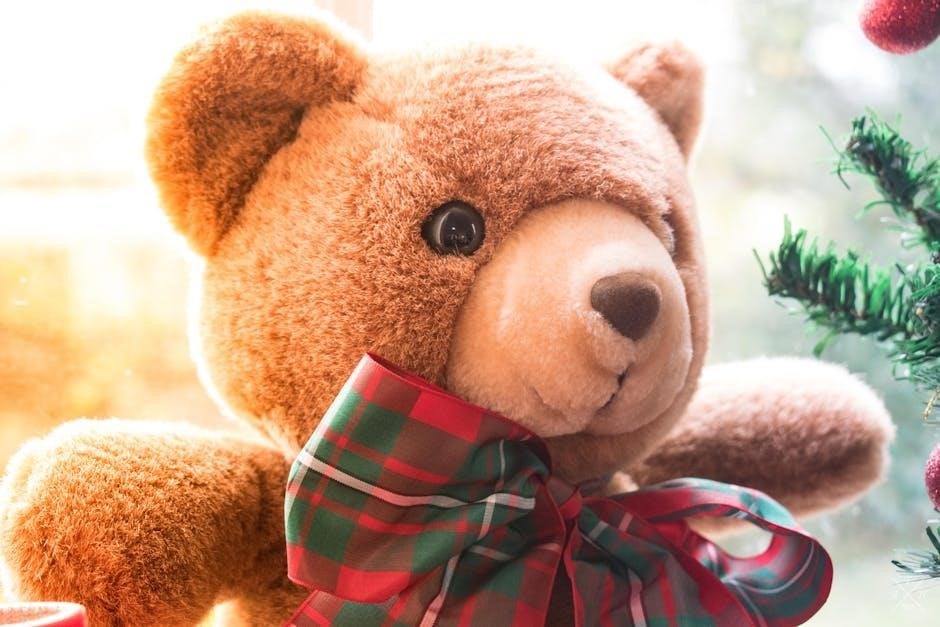
Embroidery for Eyes‚ Nose‚ and Mouth
Embroidery adds personality and charm to your handmade teddy bear! Using embroidery floss‚ carefully stitch the eyes‚ nose‚ and mouth onto the head. Black floss is traditional for a classic look‚ but feel free to experiment with colors.
For the eyes‚ small French knots or straight stitches work well. The nose can be a simple satin stitch or a more detailed embroidered shape. A curved backstitch creates a sweet‚ smiling mouth.
Remember to keep the features proportional to the head size and consider the overall expression you want to achieve. Practice on scrap fabric first!

Finishing Touches
Bring your creation to life! Add charming details like clothes or joints. Personalize with accessories‚ making a unique‚ treasured teddy bear from your PDF pattern.
Adding Joints (Optional)
For a more posable and expressive teddy bear‚ consider adding joints! This step isn’t essential‚ but it elevates the play value and realism of your creation. Traditional joints utilize pins and washers‚ allowing limbs to rotate. Alternatively‚ plastic disc joints offer a simpler‚ secure option‚ particularly for beginners working with a PDF pattern.
Carefully position the limbs and secure the joints tightly‚ ensuring they move smoothly without being overly loose. Remember to reinforce the fabric around the joint placement to prevent tearing during play. Properly installed joints transform a static plush into a dynamic‚ huggable friend!
Creating Teddy Bear Clothes
Once your teddy bear is complete‚ why not expand the fun by designing a wardrobe? Miniature clothing adds a delightful personal touch and encourages imaginative play! Simple patterns for outfits like overalls‚ dresses‚ or even tiny sweaters can be easily adapted from existing doll clothes patterns or created from scratch.
Utilize fabric scraps from your bear-making project to coordinate outfits. Consider using velcro or snaps for easy dressing and undressing. A PDF pattern can inspire unique designs‚ transforming your cuddly companion into a stylish friend!
Personalizing Your Teddy Bear
Beyond basic sewing‚ truly make your teddy bear unique! Personalization elevates a handmade toy into a cherished heirloom. Consider adding embroidered details like a special date‚ initials‚ or a tiny heart; Experiment with different fabric types and colors for patchwork effects or unique ear linings.
A PDF pattern serves as a starting point; don’t be afraid to deviate! Attach ribbons‚ bows‚ or miniature accessories. Even the stuffing material can contribute to the bear’s character – weighted stuffing creates a comforting presence.
Pattern Variations and Customization
Explore endless possibilities! PDF patterns offer a base; adjust sizes easily and modify designs to create truly one-of-a-kind teddy bears with unique features.
Adjusting Pattern Size
Scaling a teddy bear sewing pattern PDF is surprisingly straightforward‚ allowing for creations of varying dimensions. Most PDF viewers and printers offer scaling options – typically expressed as a percentage. To enlarge a bear‚ increase the percentage; conversely‚ to create a miniature version‚ reduce it.
However‚ remember that proportionally altering the pattern affects fabric requirements and stuffing amounts. Carefully recalculate these based on the new size. When printing‚ ensure the “actual size” or “100%” setting is selected to avoid unintended distortions. Test print a small section first to verify accuracy before committing to the entire pattern!
Modifying the Design
Teddy bear sewing pattern PDFs serve as excellent starting points for unique creations! Don’t hesitate to personalize your bear’s design. Alter the head shape for a different expression‚ adjust limb lengths for varied poses‚ or experiment with ear sizes and placements.
Consider adding design elements like scarves‚ hats‚ or even tiny spectacles. Remember to redraw pattern pieces accurately when making significant changes. A basic understanding of pattern drafting is helpful‚ but simple modifications are easily achievable with careful planning and a bit of creativity!
Troubleshooting Common Sewing Issues
Encountering seam rips or uneven stuffing? Carefully re-stitch and ensure consistent fiberfill distribution for a perfectly plump and durable teddy bear creation!
Dealing with Seam Rips
Seam rips are an inevitable part of sewing‚ even for experienced crafters! Don’t despair; they’re easily fixable. First‚ gently remove the loose threads to avoid further unraveling. Then‚ carefully pin the ripped seam back together‚ ensuring the fabric edges align precisely.
For a neat repair‚ consider using a smaller stitch length than your original seam. Backstitch at the beginning and end of the repair to secure the stitches. If the fabric is delicate‚ hand-sewing might be preferable to avoid damaging it further. Remember patience is key for a flawless finish‚ resulting in a beautifully restored teddy bear!
Ensuring Even Stuffing
Achieving a well-shaped teddy bear relies heavily on even stuffing! Start by using small amounts of fiberfill‚ distributing it gradually throughout the body and limbs. Avoid large clumps‚ as these create an uneven surface. Use a stuffing tool‚ or even a chopstick‚ to push the filling into corners and extremities.
Regularly check the shape as you stuff‚ gently squeezing the bear to identify any areas needing more filling. The goal is a firm‚ yet soft‚ texture – not overly packed‚ but also not limp. Proper stuffing ensures your teddy bear holds its form and is delightfully huggable!
Resources and Further Learning
Expand your skills with online sewing communities and tutorials! Discover advanced techniques to elevate your teddy bear creations and pattern mastery.
Online Sewing Communities
Immerse yourself in vibrant online sewing communities dedicated to plush toy creation! These platforms offer invaluable support‚ inspiration‚ and a space to share your teddy bear projects. Connect with fellow enthusiasts‚ exchange tips on pattern adjustments‚ and receive constructive feedback on your stitching. Many groups host dedicated threads for discussing specific teddy bear sewing patterns‚ including PDF versions‚ allowing you to troubleshoot challenges and learn from others’ experiences.
Explore forums and social media groups where members showcase their finished bears‚ offer pattern reviews‚ and even host virtual sew-alongs. These communities are fantastic resources for discovering new patterns‚ learning advanced techniques‚ and fostering a love for the craft. Don’t hesitate to ask questions and contribute your own knowledge – the sewing community is known for its welcoming and collaborative spirit!
Advanced Teddy Bear Making Techniques
Elevate your teddy bear crafting beyond basic PDF pattern following with specialized techniques! Explore sculpting techniques to create unique facial expressions and body shapes‚ moving beyond standard forms. Learn about needle felting to add intricate details like realistic fur textures or charming embellishments. Mastering jointing methods – using cotter pins‚ discs‚ or even plastic joints – allows for poseable bears with character.
Delve into pattern drafting to customize existing designs or create entirely original bears. Experiment with different fabric combinations‚ like blending mohair with plush‚ for varied textures. Advanced sewers often explore armature building for complex poses and durable structures. These skills transform a simple project into a true work of art!